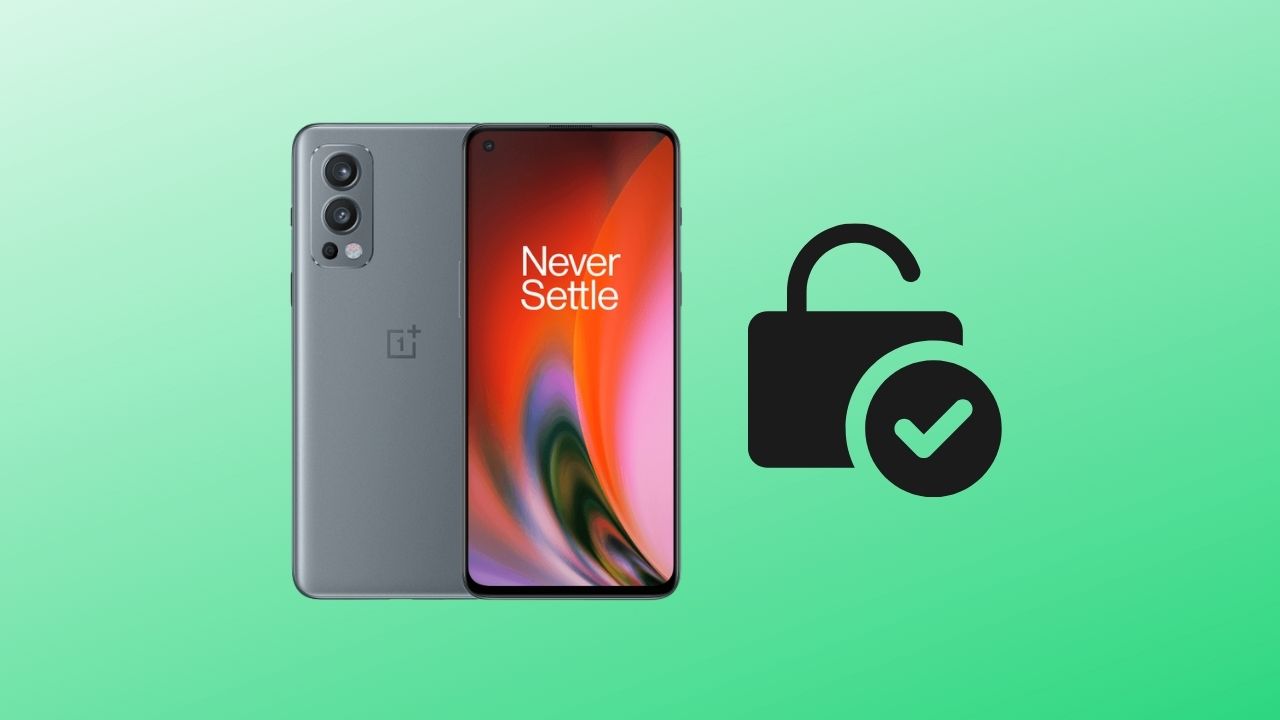
OnePlus has just released their latest phone, the OnePlus Nord 2. And you might be wondering how to unlock the bootloader on this device? Well, it’s not as hard as you may think.
Most modern Android phones come with locked bootloaders, making it difficult to install custom ROMs, mods, kernels, or even enable root using Magisk. Luckily the new OnePlus Nord 2 has an unlockable bootloader that’s easily unlocked following the below steps.
Page Contents
What is Unlock Bootloader?
It means that the phone’s operating system can be modified as desired by the user. The owner of a locked phone running Android cannot modify or replace any part of Android. The smartphone owner is limited to what is installed on it by the vendor unless required to root the phone.
You can only flash signed firmware images with a locked bootloader, which the manufacturer has digitally signed. An unlocked bootloader will allow you to flash unsigned or modified firmware images. In other words, an unlocked bootloader allows users to modify any aspect of software running on their phones.
Also read: OnePlus Nord 2 common problems and How to Fix
Advantages of Unlocking Bootloader
You can perform several Root-related activities on your device. By rooting, you can install tons of Custom ROMs for your android phone/tablet.
Unlocking Bootloader allows you to get the latest Android updates OTA without waiting for days or weeks. This is because as soon as a new update comes out, you don’t need to wait for OEM or carriers’ approval to receive it and upgrade your phone.
All thanks to unlocking the bootloader, allowing you to flash images on Fastboot mode using the flash tool or other similar tools.
Also read: How to Root OnePlus Nord 2 using Magisk
Disadvantages of Unlocking Bootloader
It voids your warranty. If you don’t know what you are doing, it might put your device into boot loop.
If you have an official update for official stock ROM, it won’t upgrade automatically or with OTA as soon as a new version is out. So you will need to wait for OEM-specific time before placing the firmware on your device and updating to the latest Android version.
Unlocking Bootloader may lead to a change in the IMEI number of the device, making it difficult for you to use your cellular network as service providers use this number to identify the device.
Must read: How to Take a Screenshot on OnePlus Nord 2
Pre-requirements
- Unlocking the bootloader will erase all your internal storage data, so make sure to take a full backup of your device.
- Download and Install OnePlus USB drivers on your computer.
- Setup ADB and Fastboot drivers.
- Enable Developer Options and USB Debugging on OnePlus Nord 2. By doing this, you will be able to run ADB and Fastboot commands on your phone.
- Fully charge your OnePlus device to avoid interruptions in between the unlock process.
Related guide: How to hard reset OnePlus Nord 2
Steps to Unlock the Bootloader on OnePlus Nord 2
- First, power off your phone and Boot your OnePlus Nord 2 into Fastboot Mode.
- Connect your phone to a PC using a USB cable.
- On your PC, head over to this location (C:\adb). Make sure that you have set up ADB and Fastboot on your PC.
- Type cmd in the address bar of the ADB folder.
- A command prompt window will appear.
- Now enter the below command to check if your PC recognizes your phone.
fastboot devices
- The command should return your OnePlus Nord 2 unique identifier string with the “fastboot” message.
- Now run the below command to unlock the bootloader on your OnePlus Nord 2.
fastboot flashing unlock
- Once you enter the above command, you will see a bootloader unlocking disclaimer. Use the Volume key to move the selector and select “UNLOCK THE BOOTLOADER.”
- Press the Power key to confirm.
- That’s it! Your OnePlus Nord 2 bootloader is now fully unlocked, and your device should automatically boot into the OS.
Must read: Download Google Camera for OnePlus Nord 2
Conclusion
Unlocking the bootloader on your smartphone can be a great way to get more out of it. It’s not difficult, but you should always do some research beforehand to make sure you’re doing things safely and correctly.
We hope this article has helped you learn how to unlock the OnePlus 2 bootloader! If there are any other questions about which smartphones have an unlocked or locked bootloader, let us know in the comments section below – we’ll try our best to answer them for you as quickly as possible!